Soy Candle Making Basics: A Beginner’s Guide
I am very excited that you are here with me today! Whether you’re a complete beginner or already have some first-hand experience making soy candles, you’ve come to the right place.
As someone who’s just beginning this exciting journey myself, I can understand the excitement of wanting to dive in, but also the uncertainty of where to begin.
In this comprehensive guide to soy candle making basics, we’ll explore everything you need to know to kickstart your candle crafting adventure. From understanding the essential materials and tools to mastering the fundamental techniques, this post is your go-to resource for getting started with confidence.
But before we dive into the nitty-gritty details, let me share a bit about my own journey.
My Path To the Wax
Being that I not only enjoy candles, but also have a big creative streak in me, I made the decision to learn everything I can about soy candle making. As a newcomer to the world of candle making, I’m filled with enthusiasm and eagerness to learn.
Every step of this process, from selecting soy waxes to experimenting with various fragrances, is going to be a blast! And I’m excited to share my discoveries and insights with you along the way.
While I may not have years of experience under my belt just yet, I’m committed to thorough research and hands-on experimentation to provide you with accurate information and practical tips. Together, we’ll begin our candle making journey,.. discovering, creating and having fun!
So, whether you’re here to explore a new hobby, unleash your own creativity, or simply unwind with the soothing glow of handmade candles, let’s dive in and ignite our passion for soy candle making!
Understanding Soy Wax:
Soy wax is a popular choice among candle makers for several reasons. It is derived from soybean oil and offers a natural and renewable alternative to traditional paraffin wax.
Alternately, paraffin wax, while widely used, is a byproduct of the petroleum refining process and not my cup of tea. Here’s a closer look at what makes soy wax unique:
- Natural Origin: Soy wax is made from soybeans, which are a sustainable and renewable resource. This natural origin makes it an attractive option for eco-conscious candle makers.
- Clean Burning: Soy wax has a reputation for burning cleaner than paraffin wax. It produces minimal soot and smoke, and produces fewer VOCs (volatile organic compounds). We have asthmatic concerns in our household, so the VOC aspect is definitely important to me.
- Longer Burn Time: Candles made from soy wax tend to have a longer burn time compared to those made from other types of wax, with the exception of possibly beeswax. This means you can enjoy your candles for longer periods of time.
- Easy Cleanup: Soy wax is biodegradable and water-soluble, making it easier to clean up than paraffin wax. If soy wax spills onto surfaces such as countertops or clothing, it can often be cleaned with soap and water.
- Versatility: Soy wax is highly versatile and can be used to create various types of candles, including container candles, pillar candles, votive candles, and more. Its versatility makes it suitable for different candle-making techniques and styles. Soy on its own often isn’t stable enough to be supportive on its own (think pillar candles), so often times you can purchase soy blended with other waxes to give it extra rigidity.
Ready to learn more about the process? Great! Let’s dive deeper into the essential equipment and supplies needed for soy candle making:
Essential Equipment and Supplies:
Ah, the tools of the trade! Before we start pouring wax, let’s make sure we have everything we need to create our candles. Here’s a list of the basic equipment and supplies you’ll want to have on hand:
- Soy Wax: Of course, the star of the show! We want high-quality soy wax flakes or pellets specifically designed for candle making.
- Wicks: Choose wicks specifically engineered for soy wax candles to ensure optimal performance. Wicks come in various sizes and types. Here is a helpful link to get you started with wick sizing for a specific size vessel. I will update the wicks section of this site with my own personal findings and testings as I experiment with each.
- Containers: Next up, containers! Whether you prefer classic glass jars, sleek tins, or trendy ceramic vessels, you’ll need containers to pour your melted wax into. Make sure your containers are heat-resistant and suitable for candle making.
- Fragrance Oils: This is much of a candle’s appeal, am I right? I find that fragrance oils add amazing scents to candles, often bringing back memories and smiles. There is an enormously wide variety of fragrances to choose from. Floral and fruity to spicy and woodsy. Just be sure to select fragrance oils specifically formulated for candle making.
- Colorants: Want to add a splash of color to your candles? Colorants are the way to go! Choose from liquid dyes, dye chips, or powdered pigments to achieve your desired hue. Experiment with different color combinations to create stunning candles that stand out. With liquid dyes, you can even concoct your own special colors by doing color mixing.
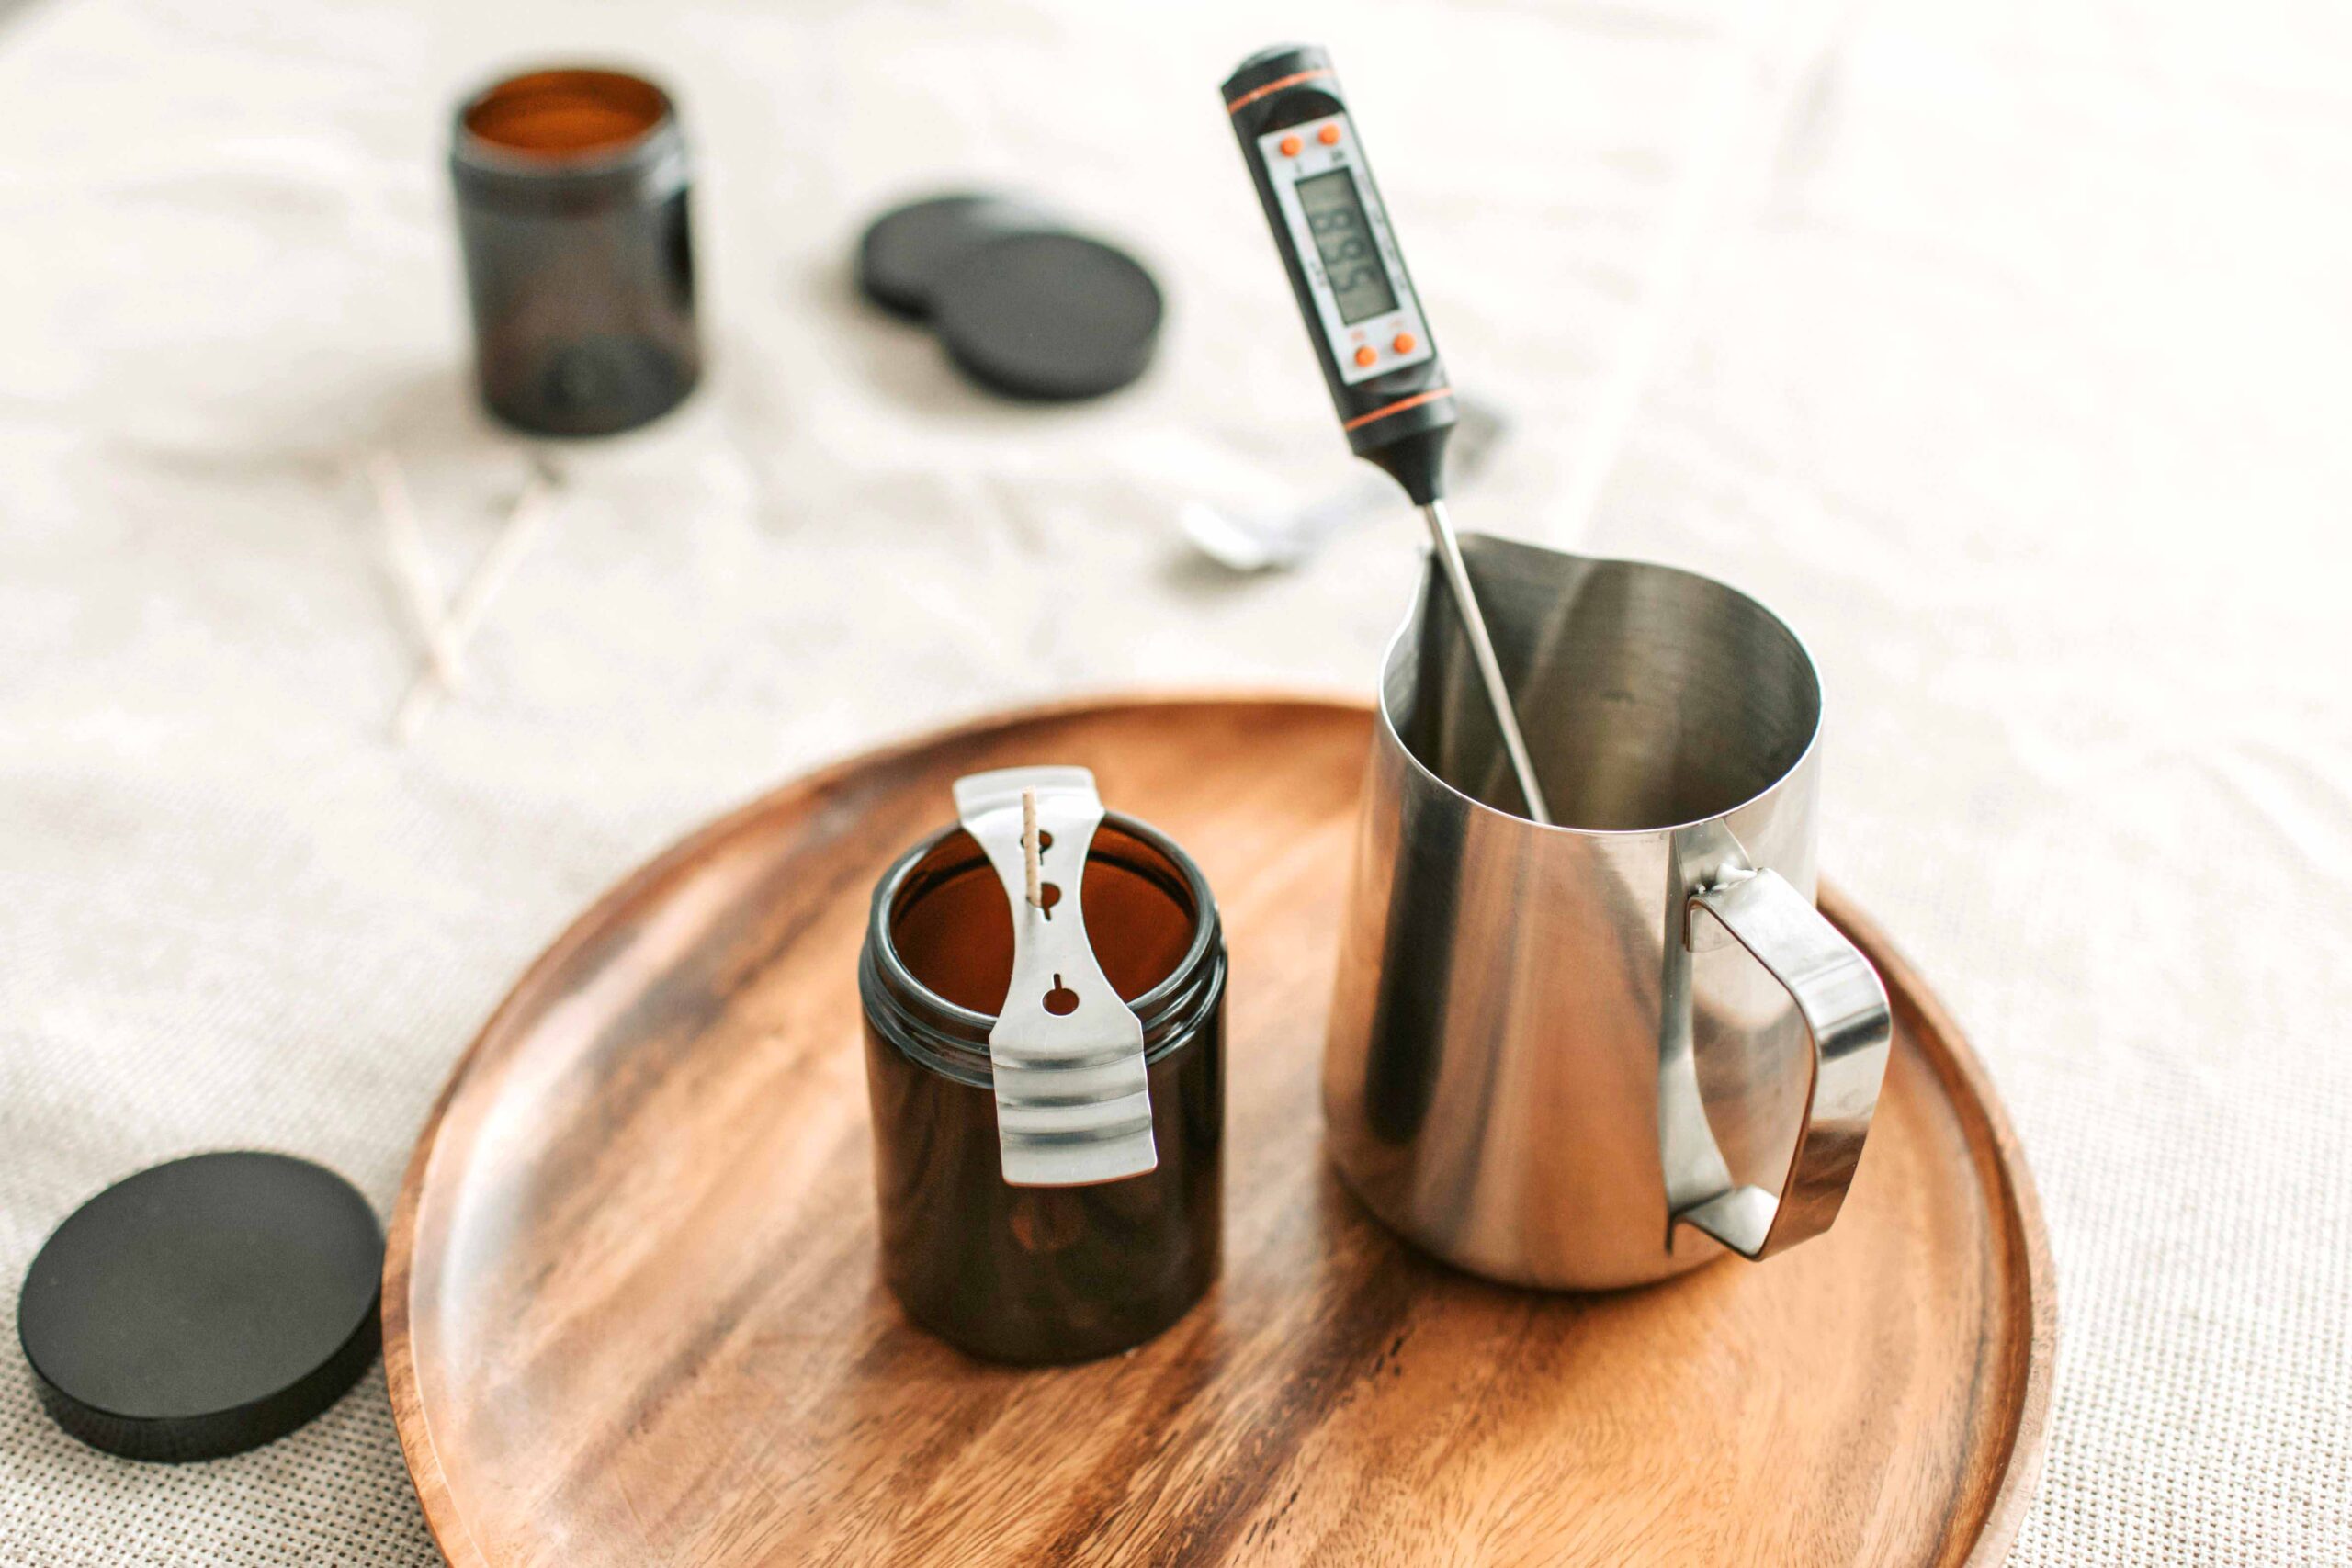
- Thermometer: Temperature control is key in candle making. A reliable thermometer designed for candle making will help you monitor the temperature of your melted wax, ensuring it’s heated to the optimal pouring temperature without overheating. You also need one to know when to add any fragrance oil or color before the pour.
- Digital Kitchen Scale: You will find this to be essential to be able to measure your ingredients correctly.
- Pouring Pitcher: A dedicated pouring pitcher is essential for safely melting and pouring wax. Look for a pitcher with a spout for precise pouring and a heat-resistant handle for easy handling. Many are made of light-weight aluminum and they come in different sizes depending on how large a batch of candles you intend to make.
- Double Boiler: In combination with the pouring pitcher, you will need something to heat the wax in a controlled manner.
- Stirring Utensils: Stir it up! You’ll need stirring utensils like wooden dowels or stainless steel spoons to blend fragrance oils, colorants, and wax evenly. Avoid using plastic utensils, as they may melt when exposed to hot wax.
- Safety Gear: Last but certainly not least, don’t forget your safety gear! More on that coming up…
Quick Tip:
Some people like to use a silicone spoon or spatula to stir with, but it is said that they tend to hold onto (absorb) fragrances, so you may have an interesting smelling utensil over time! Also note, others say that stainless steel spoons can be rather annoying as they clang the sides of your stirring pot. Having said that, both are still good options.
Preparation and Safety Measures:
Before we light up the stove and start melting wax, let’s ensure we’re prepared and prioritize safety every step of the way. Here’s a breakdown of the necessary precautions to take before beginning your candle making:
- Ventilation is Key: First and foremost, make sure you’re working in a well-ventilated area. Proper ventilation helps dissipate any fumes or vapors emitted during the melting process. You could open a window or door, or consider setting up a fan to promote air circulation. Yes, this becomes more challenging during the winter in colder climates. Do the best you can.
- Handling Hot Wax: Always exercise caution when handling hot wax to avoid burns or accidents. Use a dedicated double boiler or melting pot to melt your soy wax, and never heat it directly over an open flame. You need to be in complete control of the temperature of the wax at all times. Keep a close eye on the temperature and avoid overheating the wax, as it can pose a fire hazard.
- Protective Gear: Don’t forget your safety gear! Equip yourself with heat-resistant gloves and a protective apron to help guard yourself against potential splashes or spills. These essential items provide an extra layer of protection and help minimize the risk of injury during the candle making process.
- Follow Safety Guidelines: It’s crucial to follow safety guidelines and best practices to prevent accidents and ensure a smooth candle making experience. Familiarize yourself with proper candle making techniques, including safe wax handling, pouring, and cooling procedures. Avoid distractions and stay focused on the task at hand to minimize the risk of mishaps. In addition, always make sure you have enough undisturbed time to work on your project. If you anticipate being disturbed or pulled away from things, choose a different time.
- Clean Workspace: Keep your workspace clean and organized. Clear away any clutter or obstacles that may interfere with your movement, and ensure you have easy access to essential tools and supplies. A tidy workspace promotes efficiency and helps maintain a safe working environment.
- Emergencies: Lastly, be prepared for the unexpected. Have a fire extinguisher on hand in case of emergencies, and familiarize yourself with how to use it.
- By taking these necessary precautions and prioritizing safety, you can enjoy a much more worry-free candle making experience.
Step-by-Step Candle Making Process:
Are you ready to begin making your first candle? Let’s walk through, step-by-step, how to create your own beautifully crafted candles from scratch. The steps you will follow are pretty straight forward. However, candles are variable in that they may need tweaks in things such as ingredient amounts, wick type, or container to burn correctly. Here we go!
- Gather Your Supplies: Before beginning, make sure you have all the necessary supplies on hand. We spoke about these earlier.
- Prepare Your Workspace: Set up your workspace in a clean, clutter-free area with ample ventilation. Protect your surfaces with newspaper or a designated work mat to catch any spills or drips. Lay out your supplies in an organized manner for easy access throughout the candle making process.
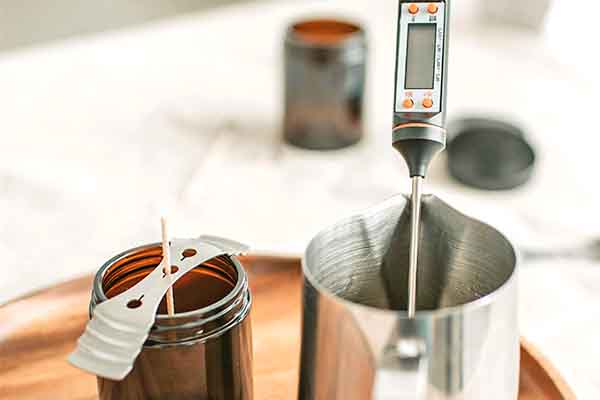
- Measure and Melt: It’s time to measure your wax. You will want to measure the amount of wax by weight, not by volume. Place your pitcher on your digital scale and “tare” it (zero it out). To figure out how much wax to melt, fill your vessel (container) with water, leaving at least 1/4” at the top for the wick. Measure the water weight in ounces. Take that number and multiply by 0.86 and the resulting answer is how many ounces of wax you will need to melt. Melt this in a double boiler or melting pot over low to medium heat. Monitor the temperature closely with a thermometer and heat the wax until it reaches the desired melting point, typically around 185°F degrees Fahrenheit (82°C).
- Add Fragrance and Color: Once the wax has reached 185°F, it’s time to add fragrance and color to your candles. Carefully measure out the desired amount of fragrance oil and stir it into the melted wax until evenly distributed. For colored candles, add dye or colorants according to the manufacturer’s instructions until you get the color you want. Remove the pitcher from the double boiler. Just know, candles don’t show their true color until the wax has cooled and hardened. They will look much darker until that has happened. Here is a quick coloring tip. Place a small amount of colored wax on a cool plate. It will harden quickly, revealing its color. Then you can make an adjustment if needed!
- Prepare Containers: Your wax needs to cool down to approximately 135°F (57.2°C) before you begin pouring it into your vessels. While you are waiting for the cooldown, prepare your containers for pouring. Place wicks in the center of each container and secure them in place using wick stickers or hot glue.
- Pour the Candles: With everything in place, it’s time to pour the wax into your prepared containers. Pour slowly and steadily to avoid spills or splashes, filling each container to the desired level. Leave a small amount of space (1/4”) at the top to allow space for the wick when trimmed. Ensure the wicks are straight and centered to promote even burning. You will secure the top of the wick by attaching it to a wick bar or something similar (clothespin, etc) at the top center of your vessel.
- Cool and Cure: Allow your candles to cool and cure undisturbed at room temperature, ideally for one to two weeks. I know, I know… You’re thinking, “Really, two weeks?” But the consensus among pros is that leaving them cure longer helps candles produce a stronger hot scent throw (the distance you can smell the candle when lit).
- Trim the Wicks: Once your candles have cooled completely, trim the wicks to 1/4” (about 6 millimeters) above the surface of the wax. This helps promote a clean, even burn and prevents excessive smoking or sooting during use.
- Enjoy Your Creations: Congratulations, you’ve successfully created your own handcrafted soy candles! Now it’s time to sit back, relax, and enjoy your beautifully crafted creations. Or give them away to friends and family as heartfelt gifts.